How Many Ounces is a Pint of Blueberries: Unveiling Nature’s Sweet Bounty
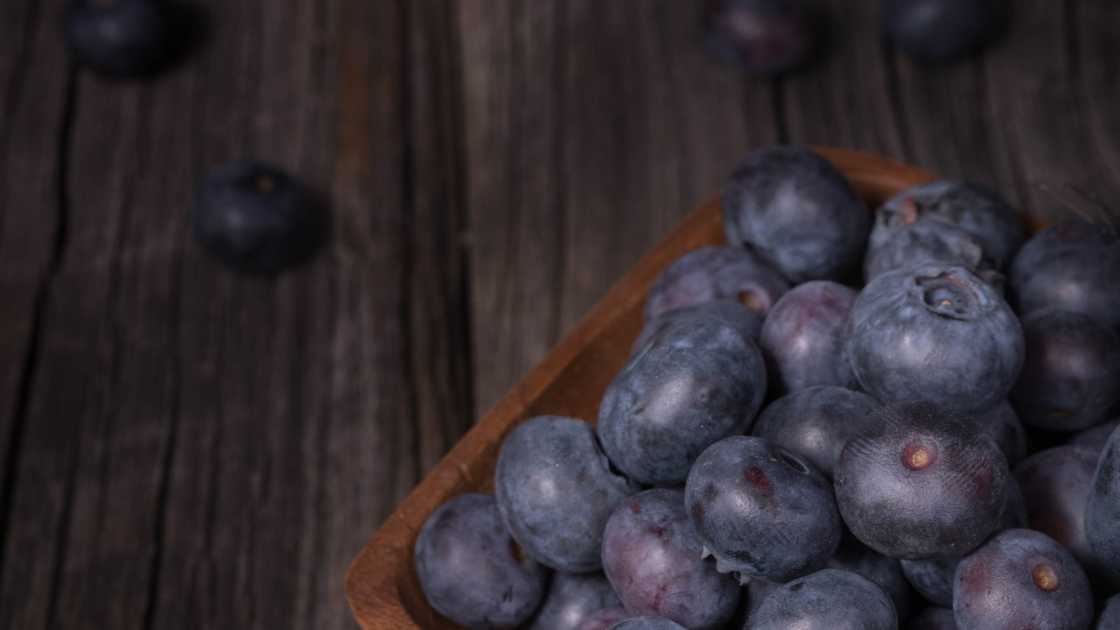
Blueberries, those vibrant and delicious little berries, have been cherished for their sweet-tart flavor and incredible health benefits. Whether you’re us...
Blueberries, those vibrant and delicious little berries, have been cherished for their sweet-tart flavor and incredible health benefits. Whether you’re us...
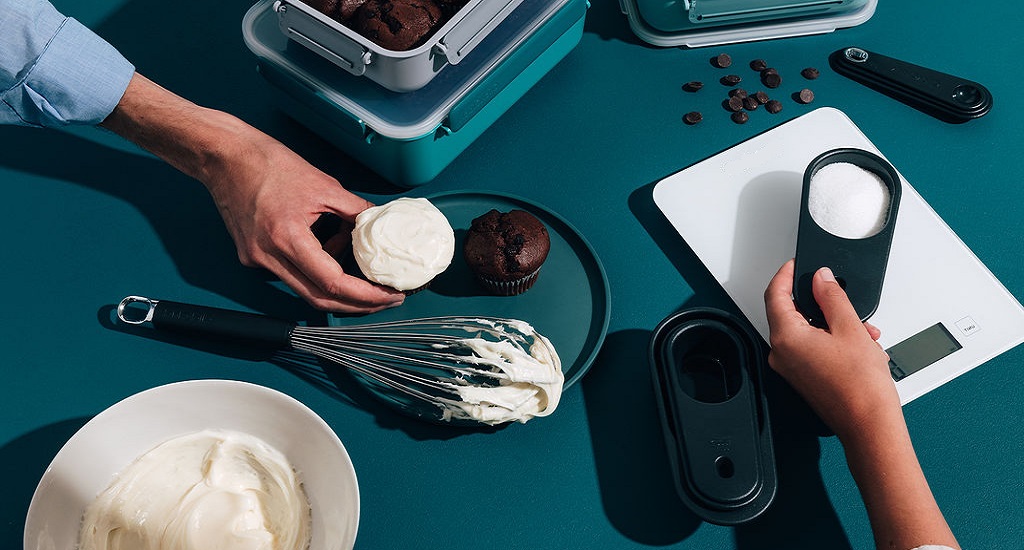
Baking is a delightful craft that brings joy to both the baker and those who are lucky enough to indulge in their creations. Whether you dream of becoming a ren...

When it comes to baking and cooking, precision is key. A pinch too much of one ingredient or a dash too little of another can make or break your culinary master...

Cupcakes are the tiny, delectable treats that bring joy to any occasion. Whether it’s a birthday party, a wedding, or just a simple afternoon snack, cupca...

When the Mid-Autumn Festival arrives in Singapore, the enticing aroma of moon cakes fills the air, captivating both locals and tourists alike. Have you ever won...
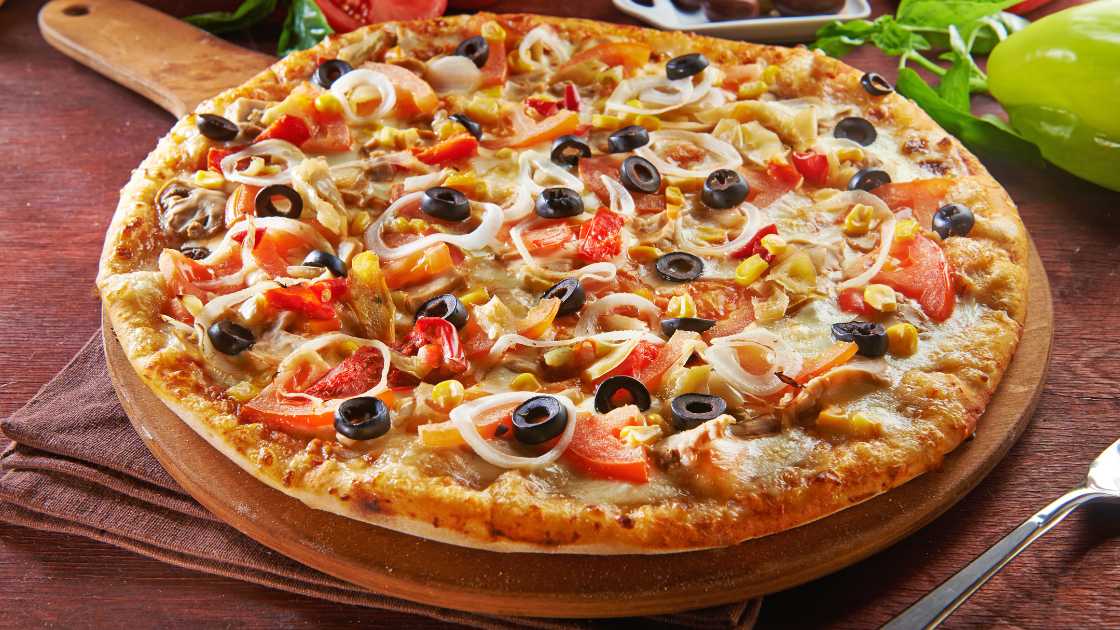
Pizza – the beloved comfort food that brings joy to our taste buds. Whether it’s a classic Margherita or a loaded meat lover’s delight, pizza has an...
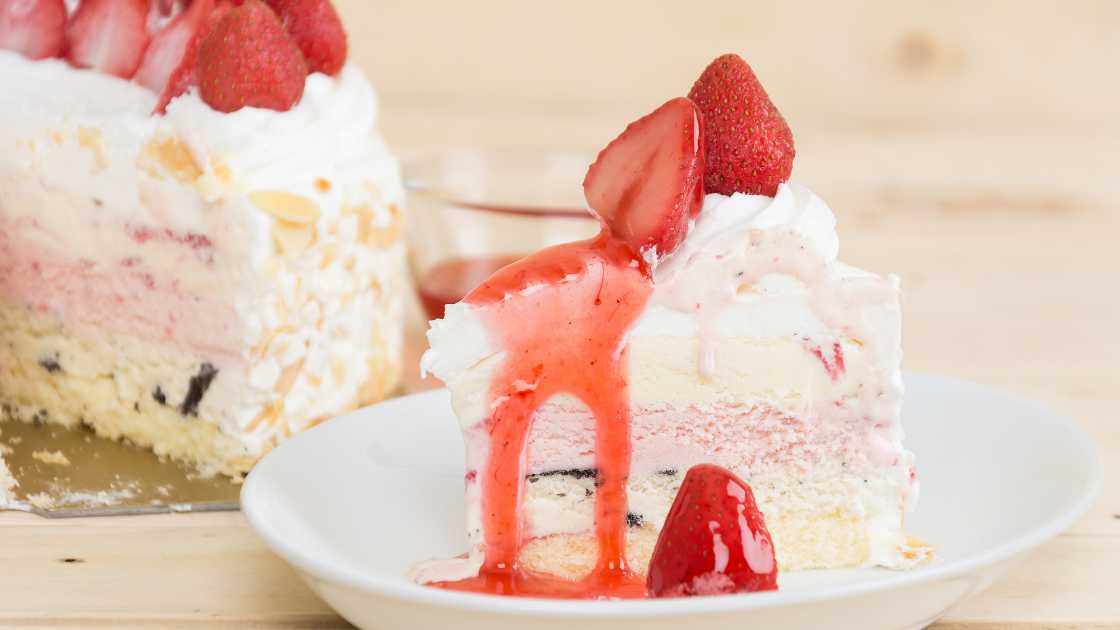
When it comes to desserts that combine the best of both worlds – ice cream and cake – nothing beats the delightful creation known as an ice cream cake. This fro...