
Learn How to Make a Healthy Caramel Cake for Fatty Liver
Dealing with fatty liver disease doesn’t mean giving up on enjoying delicious desserts. With a little creativity and mindfulness, you can satisfy your swe...
Dealing with fatty liver disease doesn’t mean giving up on enjoying delicious desserts. With a little creativity and mindfulness, you can satisfy your swe...

In a world where health-conscious choices are becoming increasingly popular, finding ways to enjoy your favorite treats without compromising on nutrition is a d...
Baking enthusiasts and occasional home bakers alike often find themselves faced with the dilemma of whether to use ingredients that have surpassed their expirat...
Creating delicious brownies doesn’t always require starting from scratch. In fact, you can achieve mouthwatering brownies using a simple shortcut – cake m...

Air fryers have become a staple in many kitchens, offering a healthier alternative to traditional deep frying while still delivering that delicious crispy textu...

Smash cakes have become an adorable and delightful tradition in celebrating a child’s first birthday. These miniature cakes are designed for the birthday ...
Tres Leches Cake, a beloved dessert in many Latin American cultures, is renowned for its moist and indulgent texture. Whether you’ve baked or bought this ...
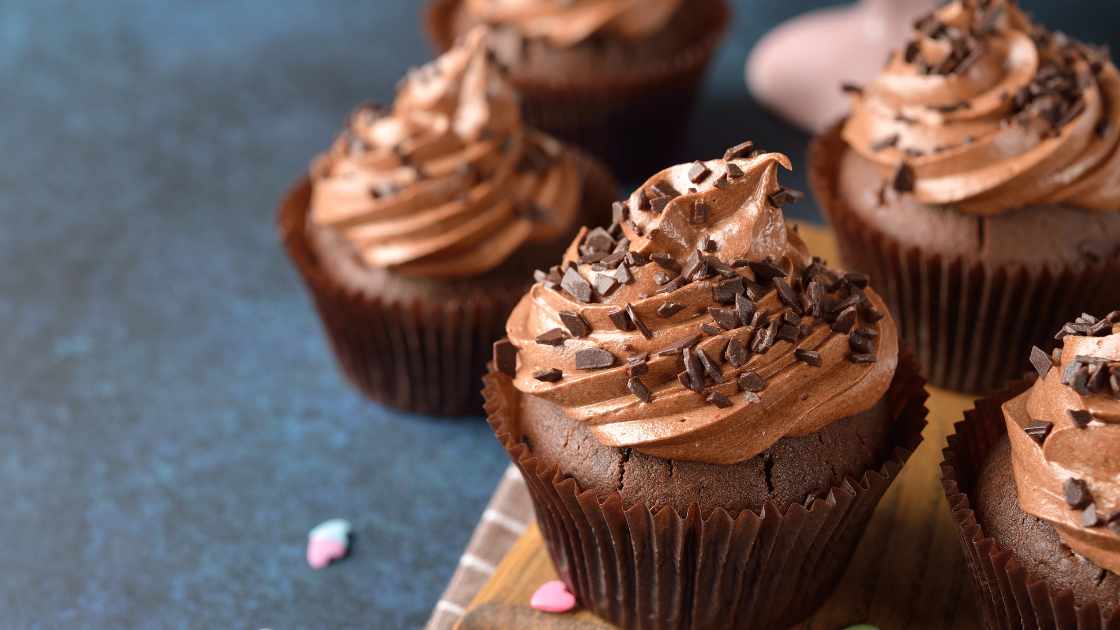
Cupcakes, with their delightful flavors and charming aesthetics, are often an integral part of celebrations. Whether you’ve baked an excess batch or want ...
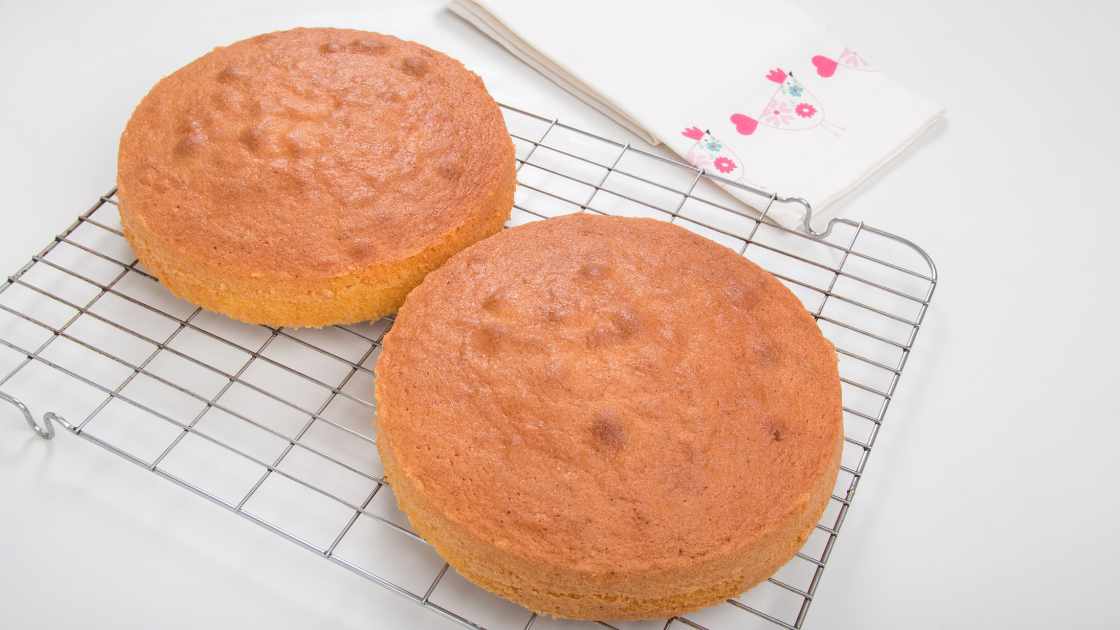
Baking a delicious cake is a delightful experience, but achieving the perfect texture and flavor involves more than just the baking time. The cooling process is...

Cakes come in various sizes and shapes, making them suitable for a myriad of occasions, from birthdays to weddings and everything in between. One popular size i...