Table of Contents
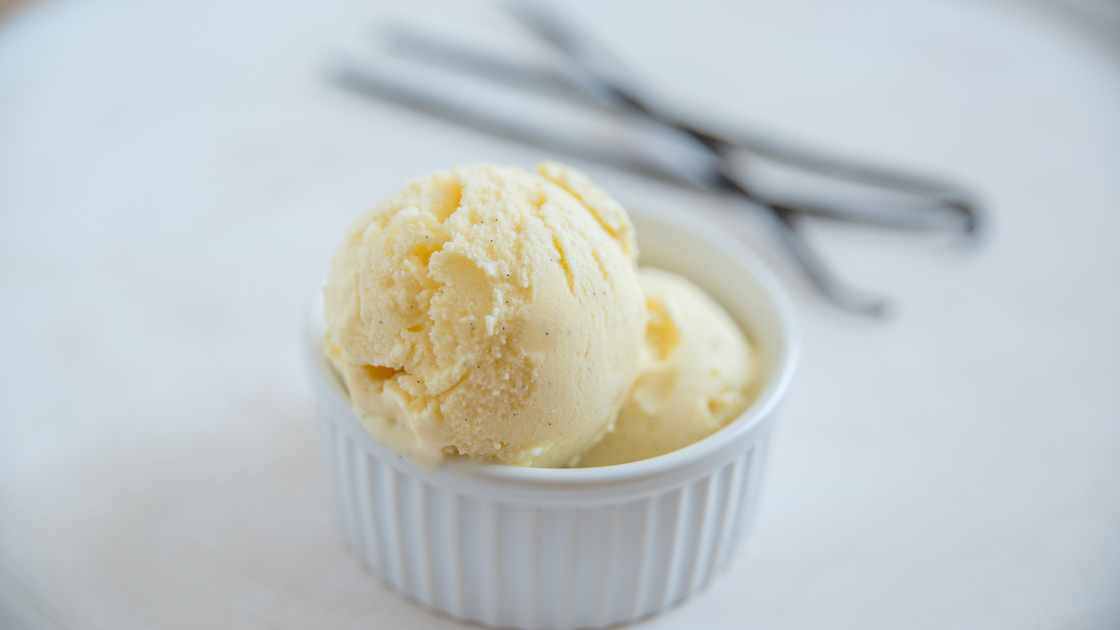
ToggleA Delightful Journey: Crafting Homemade Vanilla Ice Cream
Ingredients:
Before diving into the process, gather the following ingredients:
- 2 cups heavy cream
- 1 cup whole milk
- 3/4 cup granulated sugar
- 1 tablespoon pure vanilla extract
- A pinch of salt
Equipment:
- Ice cream maker
- Mixing bowls
- Whisk
- Measuring cups and spoons
- Plastic or metal container with a lid for freezing
Procedure:
Prepare the Base:
Begin by combining the heavy cream, whole milk, and granulated sugar in a mixing bowl. Use a whisk to ensure the sugar dissolves completely. This mixture forms the base of your vanilla ice cream.
Add Flavor and Aroma:
Incorporate the pure vanilla extract into the base. Vanilla extract is the key to achieving that classic, aromatic vanilla flavor. Don’t be tempted to use artificial vanilla flavoring; the real deal makes a noticeable difference.
Season with a Pinch of Salt:
Enhance the overall flavor by adding a pinch of salt. This may seem counterintuitive in a sweet treat, but salt acts as a flavor enhancer, bringing out the richness of the vanilla.
Chill the Mixture:
Cover the bowl and refrigerate the mixture for at least 2-4 hours or, ideally, overnight. This chilling process allows the flavors to meld and ensures a smoother texture during the churning phase.
Churn the Ice Cream:
Transfer the chilled mixture to your ice cream maker and churn according to the manufacturer’s instructions. This typically takes about 20-30 minutes, resulting in a creamy consistency.
Transfer and Freeze:
Once churned, transfer the ice cream to a plastic or metal container with a tight-fitting lid. Smooth the surface with a spatula and place it in the freezer for at least 4 hours or until firm.
Serve and Enjoy:
Your homemade vanilla ice cream is now ready to be enjoyed! Scoop it into bowls or cones, or get creative with toppings and sauces.
Tips and Variations:
- Experiment with different types of vanilla beans for a more nuanced flavor.
- Swirl in chocolate chips, crushed cookies, or caramel for added texture.
- Drizzle with homemade chocolate or fruit sauce for an extra touch of decadence.
FAQ’s
How do I make vanilla ice cream without an ice cream maker?
Answer: Making vanilla ice cream without an ice cream maker is possible! After preparing the base mixture, pour it into a shallow dish and place it in the freezer. Every 30 minutes, stir vigorously with a fork to break up ice crystals. Repeat this process for about 3-4 hours until you achieve a creamy consistency.
Can I use vanilla bean instead of vanilla extract for a more intense flavor?
Answer: Absolutely! If you have vanilla beans on hand, scrape the seeds from one or two pods and add them to the base mixture. This will impart a richer, more complex vanilla flavor. Don’t discard the pods – you can steep them in the cream mixture before heating for an even stronger essence.
How can I ensure a smoother texture in my homemade vanilla ice cream?
Answer: Achieving a smooth texture is all about patience. Allow the base mixture to chill in the refrigerator for at least 2-4 hours, or preferably overnight. This not only enhances the flavor but also ensures that the mixture is adequately cold before churning. Patience during the freezing phase is key as well; let the ice cream set in the freezer for a minimum of 4 hours before serving for the best consistency
Final Thought
Crafting your own vanilla ice cream at home is not only a delightful culinary experience but also a rewarding one. With a few simple ingredients and the right equipment, you can enjoy a scoop of homemade goodness that surpasses many store-bought options. So, gather your ingredients, follow the steps, and savor the sweet satisfaction of creating your own batch of creamy, dreamy vanilla ice cream.