With their two crispy deep chocolate cookies and their smooth cream, the Oreos are the favorite treats of many. They are also ideal as a base for making cakes and many desserts.
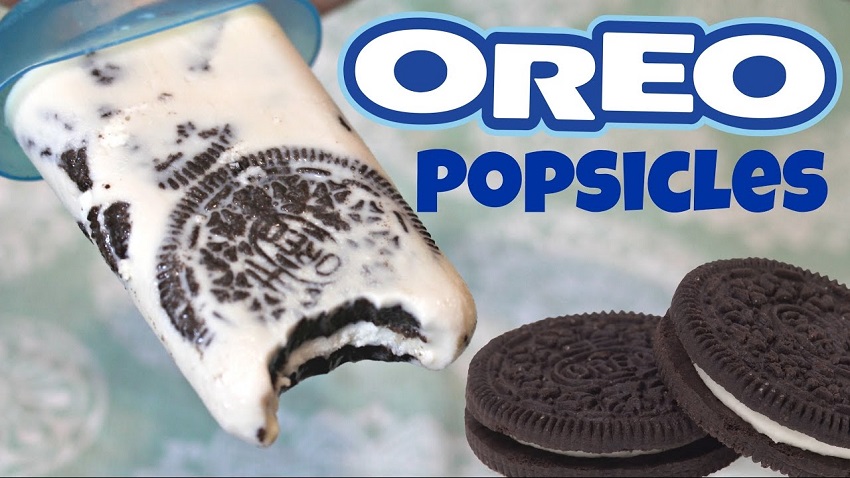
With these cookies and a few ingredients that are very easy to find, you can discover how to make Oreo popsicles and have them ready in your freezer so that you can enjoy their delicious and refreshing flavor at any time. You can also make these popsicles to sell and they will be a hit with everyone.
Get to work and, if you have children, encourage them to help you prepare this recipe for Oreo popsicles with which they will become ice cream masters. Write down everything you need and follow the steps that we indicate to have your Oreo popsicles the way you like them.
Ingredients for Oreo popsicles recipe:
- Oreo cookies (6 – 8 units)
- ½ cup of cow’s milk (approximately 120 ml.)
- ¼ cup of condensed milk or if you prefer 30 grams of sugar
- Natural Greek yogurt (a glass and a half, approximately 200 grams).
- You will need to:
- A container that you can put in the freezer.
Step 1:
To make the Oreo cookie pops, you will need to cut the cookies into small pieces. Depending on your preference, you can chop them with your own hands into several pieces or crush them to obtain smaller pieces. It all depends on the texture you want for your palettes.
A good idea to make medium-sized pieces is to put the cookies in a plastic bag and beat them with the help of a mallet or rolling pin until the pieces are the size you prefer. If you want the very small, you can also do the chopping with a mixer – mincer.
Step 2:
Once the cookies are ready, you must prepare the creamy mixture to incorporate the Oreo pieces. To do this, pour the half cup of milk and the condensed milk into a bowl. With the help of a fork or a rod, beat by hand for a few minutes until the two ingredients are perfectly integrated. If you don’t want to use condensed milk, put the sugar in its place and, likewise, beat while mixing it with the cow’s milk until it is completely dissolved.
Step 3:
Add the Greek yogurt to the milk and continue stirring until you get a very creamy texture. If you notice that your mixture is too runny, add a little more yogurt.
Step 4:
Now is the time to pour the Oreo cookies into the milk and yogurt mixture. Please do this by distributing the pieces over the container’s entire surface and mix with a spoon to distribute them well.
Step 5:
The last step is to spread the cream from the Oreo ice cream into the containers to become rich frozen Oreo popsicles. You can pour it into T-shirt molds or any small glass suitable for keeping in the freezer. In the latter case, you will also need a wooden stick so that, when they are done, you can take them out and take them without any problem.
Step 6:
Spread the cream and clean the edges of the chosen molds. Homemade Oreo popsicles should stay in the freezer for at least 8-10 hours, although ideally, you should leave them overnight so that they are perfectly frozen.
Step 7:
When you take them, remove them from the freezer, and make it easier for you to remove them from the mold and soak the container for a minute in warm water. Thus, the popsicles will come off the mold and you can remove them simply by pulling the stick that holds them.
Advice
If you want your Oreo popsicles to be even creamier and more nutritious, you can add two tablespoons of cream cheese to the basic mixture and mix them well with the milk and yogurt before adding the crushed cookies.
Do you want to give your Oreo popsicles a spectacular finish that the little ones will love? When you break the cookies, reserve a small amount and crush it to the maximum so that they are almost like chocolate shavings. Reserve it and when you take your ready-made popsicles out of the freezer, wait a couple of minutes and top them in those chocolate chips or powder.
This way, your Oreo popsicles will have coverage that no one can resist.
Remember that you can make countless sweets and desserts with these traditional cookies, from a cake to fun lollipops. It all depends on your imagination.