Jam is a product that is normally eliminated from many diets to lose weight or people decide not to take it because it usually has many calories, even though it is made with natural fruit. And it is a product that is prepared to have to add a significant amount of sugar.
In addition, there is the problem that there are people who cannot take it because they have high blood sugar or because they are diabetic, among other possible circumstances. However, there is no reason to remove jam entirely from the food pyramid because it can be easily prepared at home without adding sugar. In fact, there are more and more ingredients, such as stevia, that allow you to sweeten without having to use sugar and that combine very well with many fruits.
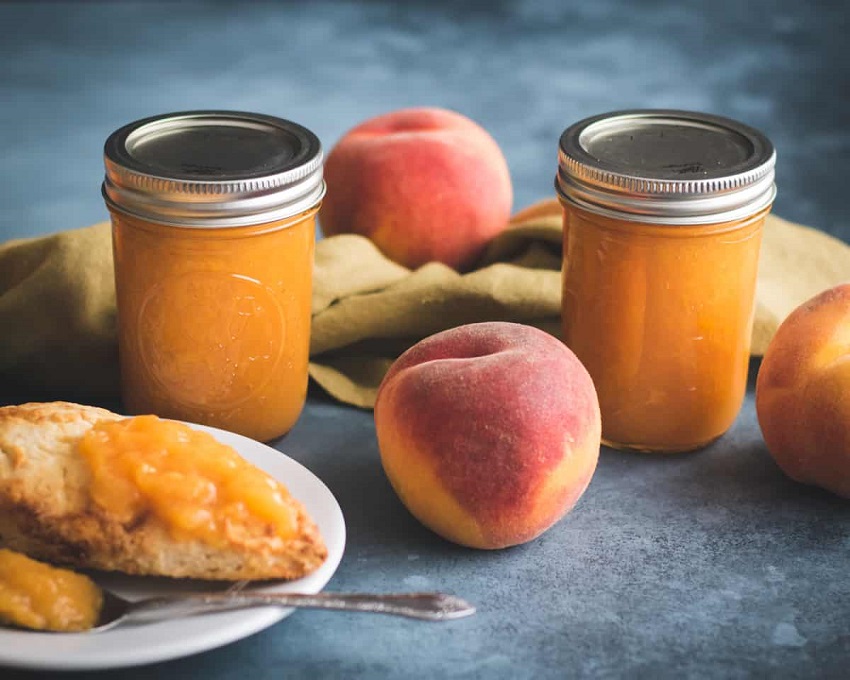
Here, we explain step by step how to make peach jam without sugar so that you prepare it at home and you can consume it. But, like all sweets, it should be eaten in moderation, even if it does not contain sugar.
Peach jam without sugar recipe
Ingredients:
- 1 kilo of peaches that are ripe
- 200 milliliters of water
- 20 grams stevia powder
- 2 grams of agar
You will need to:
- A large saucepan to sterilize the jars in which the jam will be stored.
- A knife to peel and slice the kilo of peach.
- A saucepan to bring the peaches to a boil.
- A glass to thicken the agar.
- A wooden spoon to stir the jam while it is being made.
Preparation
The first thing to do is prepare the jars in which the jam will be stored. And it is important that they are sterilized so that the product is kept in perfect condition. Sterilization is easy to do.
You just have to take a large saucepan or pot in which you must place all the jars and fill it with water. It is then put on the fire to bring the water to a boil. Once the water is at this point, the next thing is to wait about 15 minutes. After that time, the casserole or pot is removed from the heat. When the water is warm so that you do not burn, you have to take out all the jars that you had put in so that they dry very well before you pour the jam that we are going to start preparing next.
The first step in making unsweetened peach or peach jam focuses on peaches. You have to take this fruit and peel and chop it until you have a kilo.
Next, grab a saucepan and put water in it. In addition, you have to put the pieces of peach that you have cut. Once you have introduced all the fruit, the next thing you should do is put the saucepan on the fire. The temperature should be average. Approximately, the pot needs to be around 20 minutes, which is long enough for the peach to soften. It is important that during all these minutes with the saucepan on the fire, you stir constantly.
The next step is to start preparing the agar. To do this, you have to take a glass or similar container in which you have to put a little water to dilute the agar. When it is well diluted, you can add it to the casserole in which the peaches are already soft.
After letting about 5 minutes pass after adding the agar so that it thickens well with the peach, it is time to add the stevia to this mixture.
If you like that the peach jam has the smallest pieces and that they are not so noticeable, you can crush them with the help of a fork to decrease their volume. You already have the jam made and you only have to put it in the jars to store it well.
Tips
- If the pieces are too large and you cannot crush them enough with the fork, you can use the mixer, but be careful not to crush the peach excessively.
- Don’t forget to also sterilize the lids of the cans.
- The jam you have to dull it when it is hot.
Once you have sealed the jars tightly after pouring the jam, you have to sterilize them again in a saucepan with boiling water. For this, it is necessary that the water covers all the cans well (at least two centimeters above them) and wait again for about 15 minutes. After that time, they are allowed to cool in the same pot. Then, when they are cold, you just have to dry them well on the outside and put a label with the date of packaging.