Smash cakes have become an adorable and delightful tradition in celebrating a child’s first birthday. These miniature cakes are designed for the birthday boy or girl to smash and play with, creating memorable moments captured in photos. But just how big is a smash cake, and what goes into the decision-making process when choosing the perfect size? In this article, we will explore the dimensions, designs, and considerations that make a smash cake the perfect centerpiece for a first birthday celebration.
Understanding the Delightful Tradition: How Big is a Smash Cake?
Dimensions of a Smash Cake
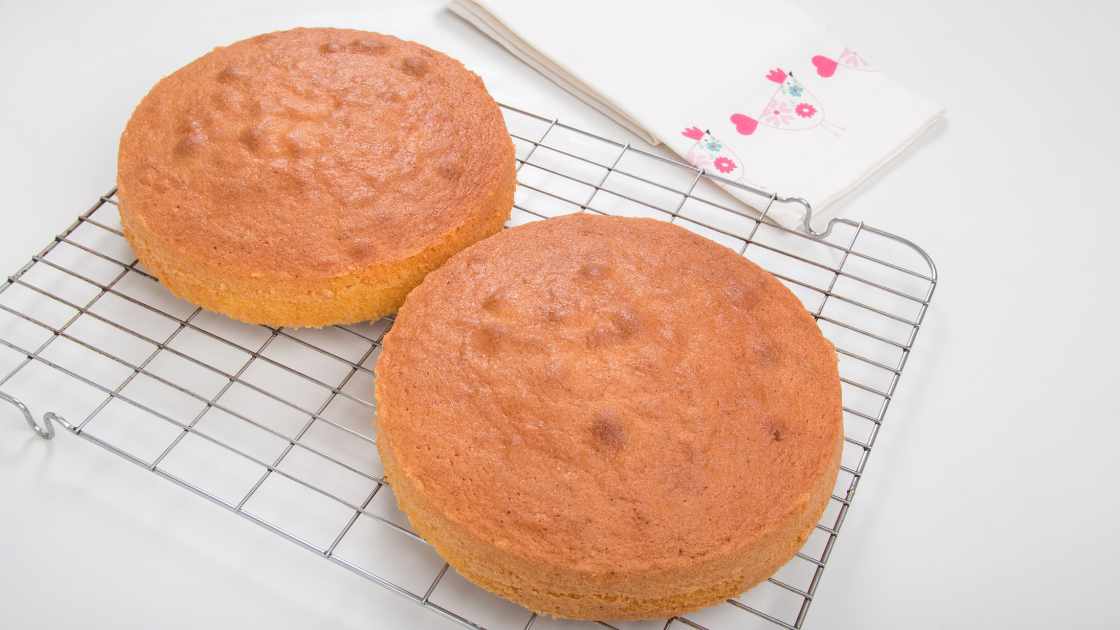
Smash cakes are intentionally small, typically ranging in size from 4 to 6 inches in diameter. The petite proportions make them manageable for little hands and mouths, allowing the birthday baby to dig in and create a delightful mess without overwhelming them. These miniature masterpieces are not meant to serve a large party but are instead designed to capture the attention and imagination of the birthday child.
Design and Decoration
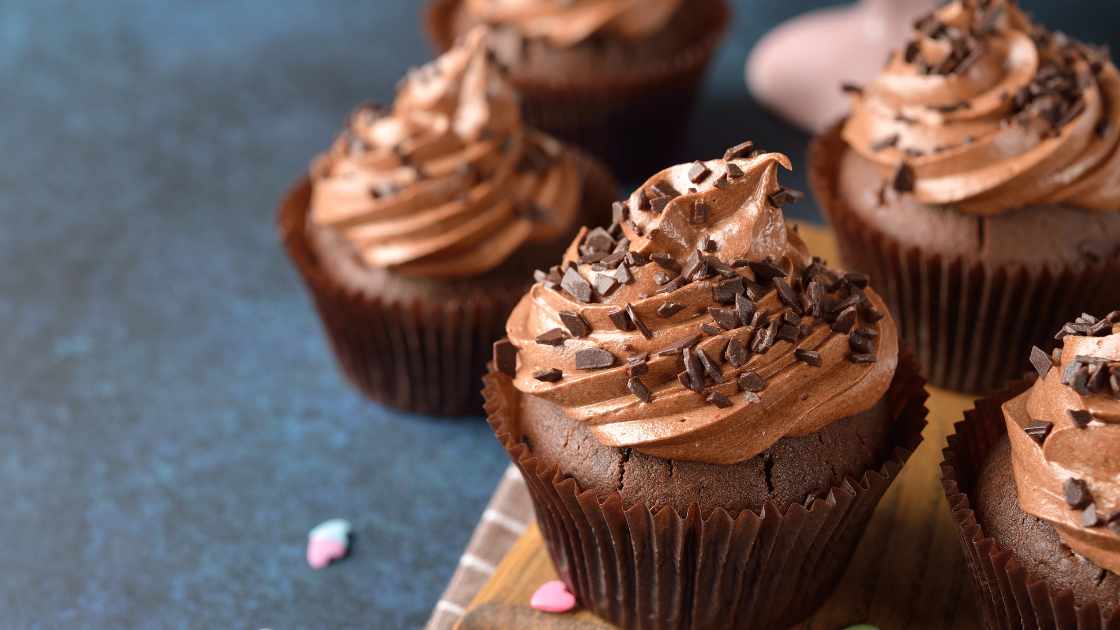
The design of a smash cake is often whimsical, featuring bright colors, playful decorations, and sometimes even a miniature theme related to the birthday party. Popular design elements include pastel-colored frosting, edible glitter, and small fondant decorations. Many parents choose to match the smash cake’s design with the overall theme of the birthday celebration, creating a cohesive and visually appealing experience.
Considerations When Choosing the Size
Several factors come into play when determining the size of a smash cake for a first birthday celebration. Firstly, it’s essential to consider the preferences and dietary restrictions of the birthday child. If the child has a favorite flavor or is sensitive to certain ingredients, these should be taken into account when ordering or baking the smash cake.
Parents also need to think about the mess factor. While the purpose of a smash cake is to allow the child to make a mess, parents may want to consider factors such as whether the celebration is indoors or outdoors and how easy it will be to clean up afterward. Choosing a cake with easy-to-clean frosting or opting for a cake smash photo session in an easily washable area can be practical solutions.
Ordering or Baking a Smash Cake
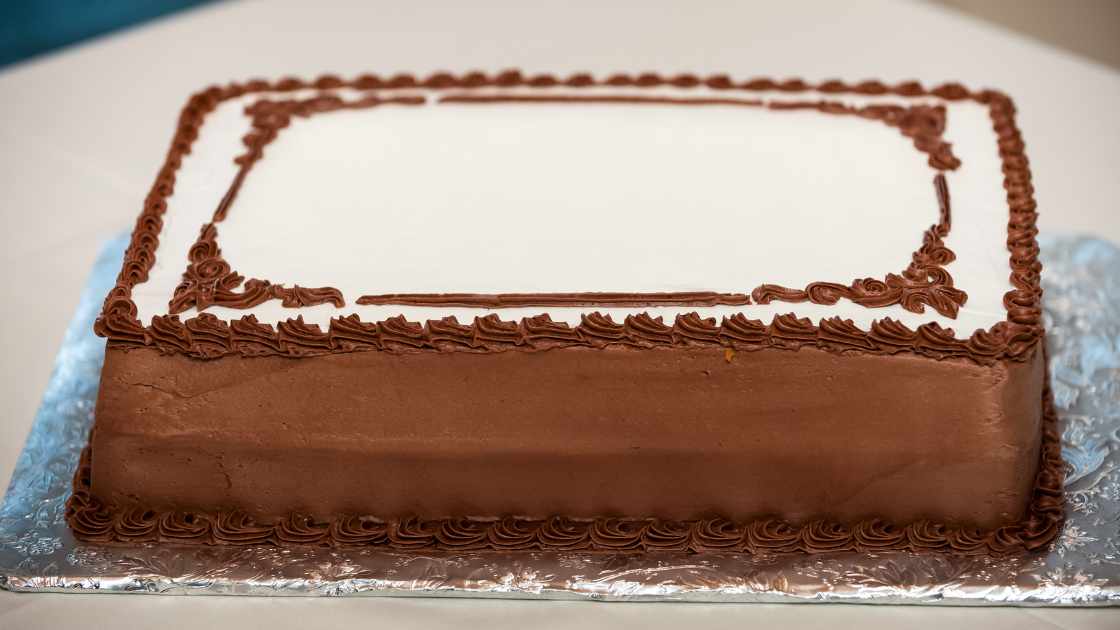
Smash cakes can be ordered from bakeries specializing in custom cakes or created at home by parents with baking skills. When ordering a smash cake, it’s crucial to communicate the desired design, flavor preferences, and any specific dietary restrictions. For those who enjoy baking, there are numerous online resources and recipes available to help create a personalized smash cake for the celebration.
FAQs
How big is a typical smash cake?
A standard smash cake is typically small, with a diameter ranging from 4 to 6 inches. These petite dimensions are intentionally designed to be manageable for little hands and mouths, allowing the birthday child to enjoy the cake and create a delightful mess without overwhelming them.
Can I customize the size of a smash cake based on my preferences?
Yes, the size of a smash cake can be customized to suit your preferences. When ordering from a bakery, you can specify the desired dimensions, taking into consideration factors such as the number of guests, the child’s preferences, and any dietary restrictions. Customizing the size ensures that the smash cake aligns perfectly with your celebration.
What factors should I consider when choosing the size of a smash cake?
When deciding on the size of a smash cake, consider the preferences of the birthday child, the overall theme of the celebration, and practical factors such as the mess. Typically, a smaller cake is recommended for easier handling and cleanup. Additionally, communication with the baker, whether professional or amateur, is essential to ensure that the cake meets your specifications and requirements.
Final Thought
Smash cakes add a touch of whimsy and joy to a child’s first birthday celebration, creating lasting memories for both parents and little ones. By understanding the typical dimensions, designs, and considerations involved in choosing the size of a smash cake, parents can ensure a delightful and memorable experience for their child’s special day. Whether ordered from a bakery or crafted with love at home, a smash cake is a charming tradition that brings smiles and laughter to the celebration of a milestone birthday.